
February 2, 2026
Custom Channel Groups in Google Analytics 4
Updated: February 2nd, 2026
A useful dimension included in Google Analytics 4 is the default channel group. Using predefined rules determined by Google, traffic sources are categorized into groups called channel groups, allowing for a simpler view of how users are accessing your site.
However, you cannot edit the default channel group. If a traffic source does not fit into the predefined rules, it will be grouped into an Unassigned value. As a result, you may not be able to leverage the default channel group dimension to its full potential.
Luckily, there is a solution – custom channel groups in Google Analytics 4! They allow you to define channels and rules for a channel group in a new dimension.
Is this the solution you’ve been looking for? Then, keep on reading!
Table of Contents
Here’s what you will learn in this article
- What are custom channel groups?
- What are the benefits of custom channel groups?
- What is causing Unassigned values in your data?
- How to configure custom channel groups?
- Example #2: Social Media channels
- Final words
Video Tutorial
If you prefer video content, then check out the Analytics Mania Youtube channel for a video on Custom Channel Groups in GA4.
What are custom channel groups?
To understand custom channel groups, it’s helpful to first grasp a few core GA4 traffic dimensions:
- Source: This tells you where your traffic came from, like ‘google’, ‘bing’, ‘facebook.com’, or the name of a specific newsletter.
- Medium: This tells you the general category of the source, such as ‘organic’ (for unpaid search), ‘cpc’ (for paid search), ‘referral’ (for links from other websites), or ’email’.
- Campaign: This identifies a specific marketing campaign, for example, ‘summer_sale’ or ‘newsletter_q2’.
Custom channel groups allow you to categorize traffic sources into channel groups that are defined by you. This means you can decide the name of the channels and the rules that dictate how the traffic sources are grouped into those channels.
These custom channel groups can then be used in reports within Google Analytics 4. In the free version of Google Analytics 4, you can define up to two custom channel groups alongside the default channel group.
Before you build, keep these GA4 limits in mind:
- Custom groups per property: You can create up to 2 custom channel groups (in the free version of GA4).
- Channels per group: Each group can contain up to 25 specific channels.
What are the benefits of custom channel groups?
They allow for a more accessible view of your data when you have traffic sources that don’t fit into the predefined rules for default channel groups, and they are simple to set up!
You can reuse any of the default channels in your custom channel group and just add the custom channels that are relevant to your data. Creating custom channel groups doesn’t affect the underlying data, so if you make a mistake or need to change a group, updates can be made with no consequences.
The new custom channel group will be immediately available in your Google Analytics 4 reports, so you don’t need to wait to see the data!
What is causing Unassigned values in your data?
Before creating custom channel groups, it is important to understand your data and where the Unassigned values for default channel groups are coming from. This can help guide you in making your custom channel groups.
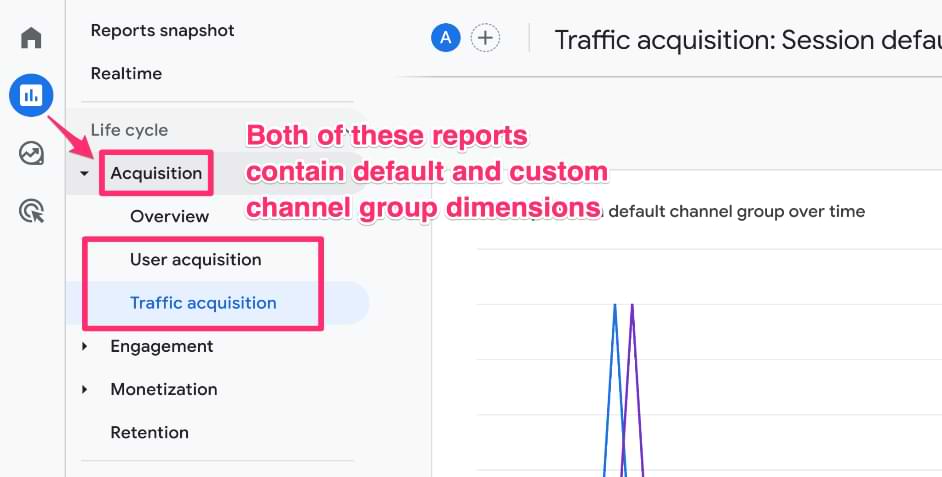
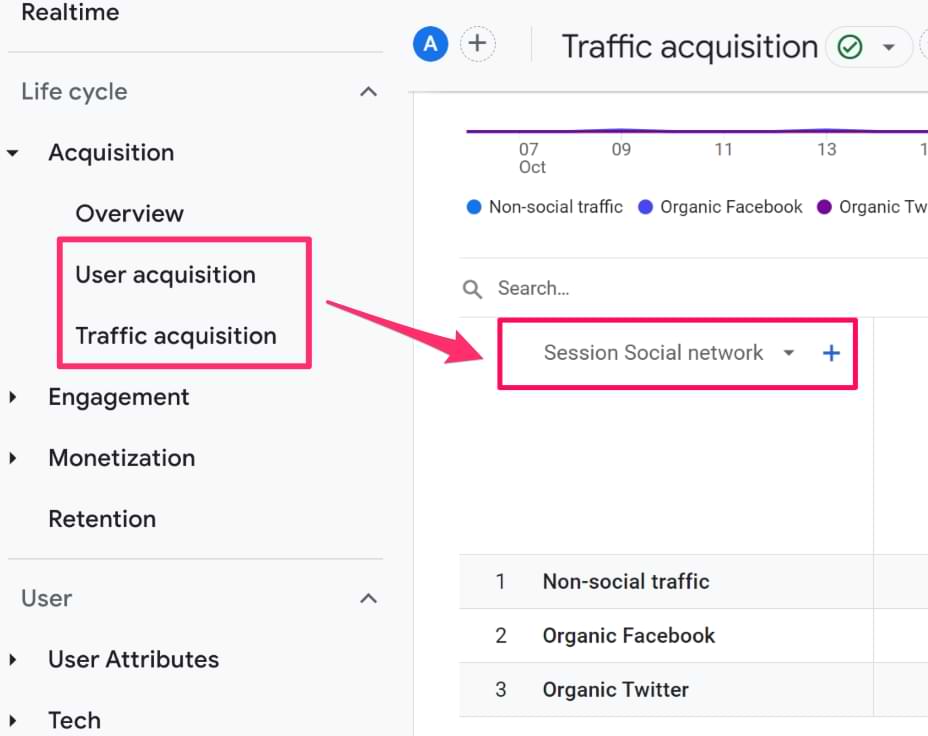
User Acquisition report and Traffic Acquisition report
Head over to your User Acquisition and Traffic Acquisition reports in Google Analytics 4. Both of these reports contain the default channel groups dimension and, once created, your custom channel groups.
If you’re unsure which report to use, check out the User Acquisition vs Traffic Acquisition in GA4 blog post to learn about the differences between the two reports.
Since the Reports section of Google Analytics 4 can be customized, your view may look different from the screenshot attached. If you are using the built-in Lifecycle report collection, then you can find both of these reports within the Acquisition section.
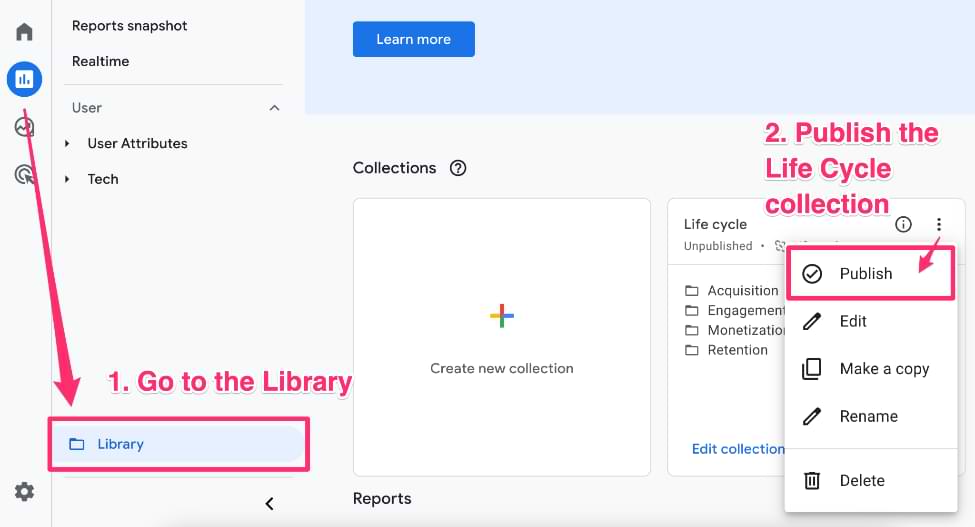
If you don’t have either of these reports, you can go to the Library and either create a new collection or simply click on “Publish” to add the Life Cycle collection that is already available.
Determine which sources/mediums are resulting in Unassigned values
To see which of the traffic sources to your site are being categorized as Unassigned, you can add “(First user or Session) source/medium” as a secondary dimension (depending on which report you are using) to either the User Acquisition report or the Traffic Acquisition report.
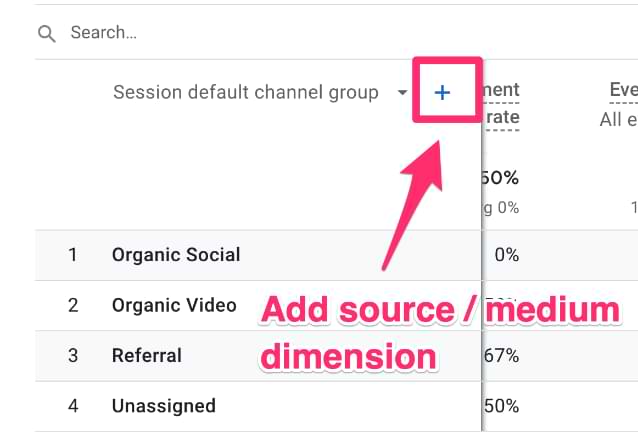
Once you have added the dimension, you will be able to see the source/medium that resulted in the Unassigned default channel group.
Update your UTM parameters
While it is impossible to update anything within the default channel group, you can review the Default channel group document created by Google and ensure the UTM parameters for your site follow the rules outlined in the document.
If possible, adjust the UTM parameters to match one of the predefined rules to avoid having an Unassigned value. You can learn more about how to set up URLs with UTM parameters here.
You will also experience Unassigned values in your data if the source/medium is not set. There are various reasons for this, so to find some possible solutions, check out how you can fix not set in Google Analytics 4.
If you cannot make your UTM parameters fit the predefined rules, then you can follow the steps below to learn how to create a custom channel group!

How to configure custom channel groups
There are two ways you can create a custom channel group. Either copy the existing default channel group or create a new custom channel group. The only difference is that by copying the existing default channel group, it will copy the Group Name and Description (if you find that helpful).
Step 1: Copy the existing default channel group
To get to the channel groups, you will go to “Admin” and then within the Data Display, click on “Channel groups”.

Then, you can make a copy of the existing Default Channel Group.
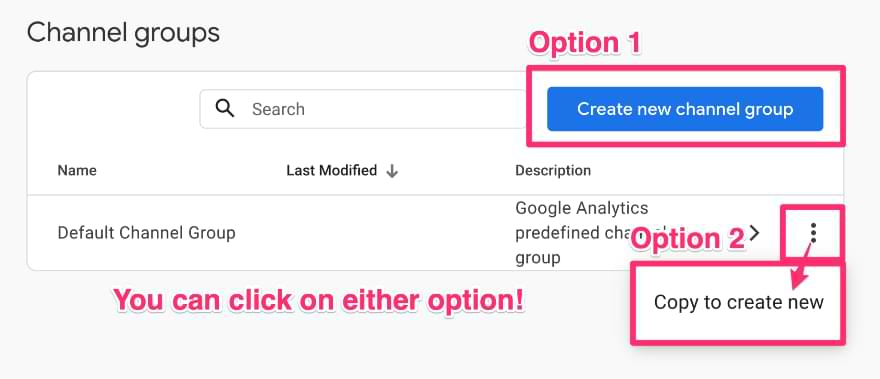
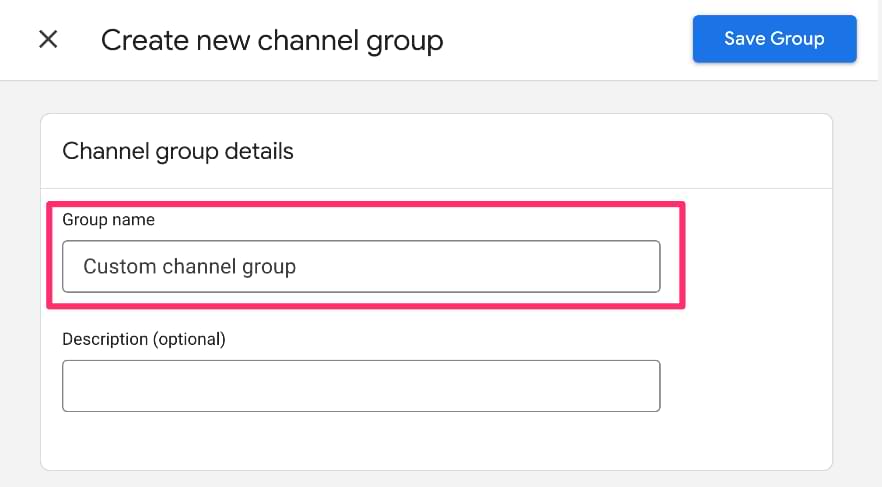
Name the new channel group and remove or update the description.
Whether you click on “Create new channel group” or “Copy to create new”, the proceeding steps will be the same.
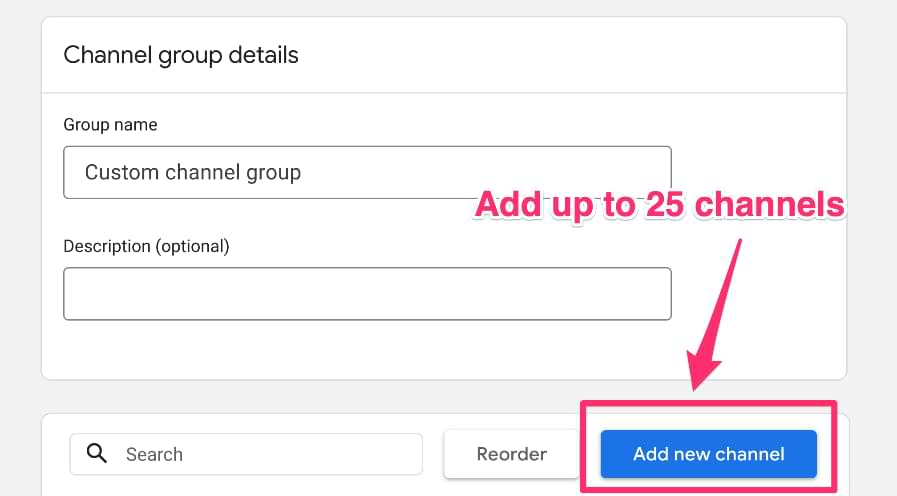
Step 2: Add new channels
To create a new channel, click on the “Add new channel” button. A custom channel group can have up to 25 channels.
For each channel, you can set the name and the conditions that define your channel. The conditions can be filtered on: default channel group, medium, source, source platform, campaign ID and campaign name.
The names and rules for the channels will depend on your data and how you would like to view it within the GA4 reports.
Example #1: E-book
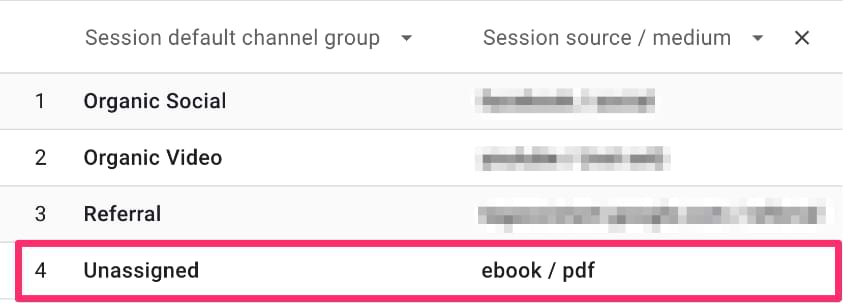
For example, if the source was ebook and the medium was pdf, this would show up as Unassigned in the data. Let’s say you want to create a custom channel group to caption this traffic source.
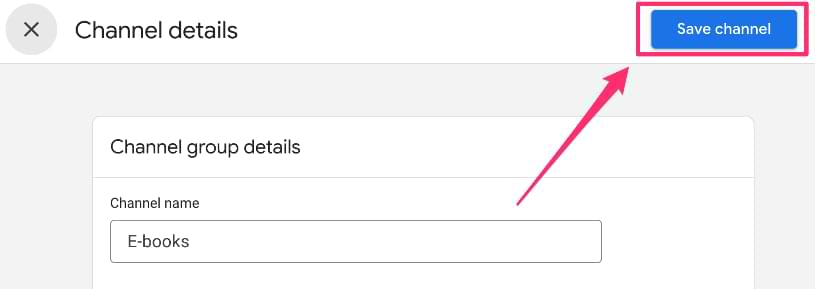
Firstly, you want to give a meaningful name to the channel, in this case, E-books.
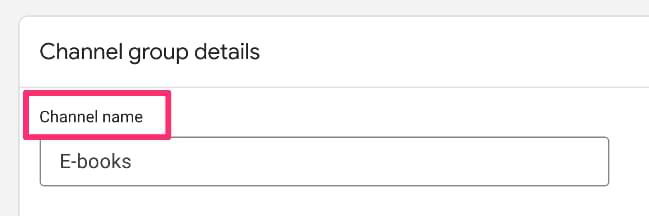
Next, you want to define what the conditions are for that channel. Using the Traffic Acquisition report, we saw that the Unassigned value occurred when the source was an ebook and the medium was a pdf.
Therefore, the source can be set to exactly match the ebook and the medium can be set to exactly match the pdf.
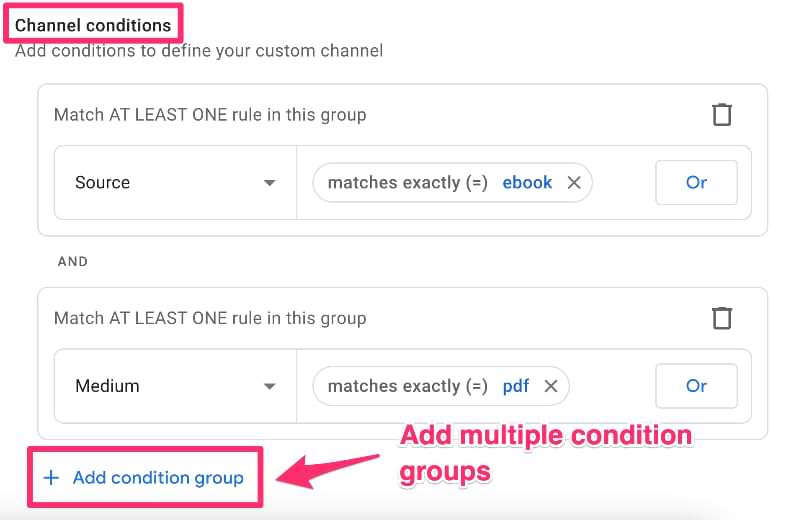
Once you have set your conditions, save the new channel.
You will now see the new channel at the bottom of the list.

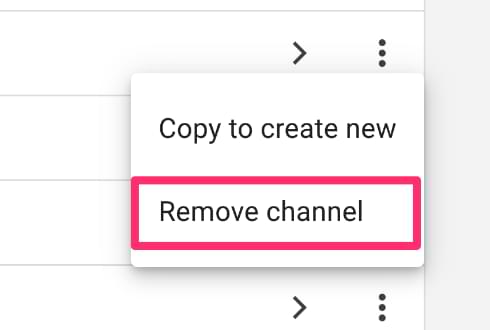
You can remove any of the default channels by clicking on the three dots on the far right side of the row.
Step 3: Rearrange the order (Optional)
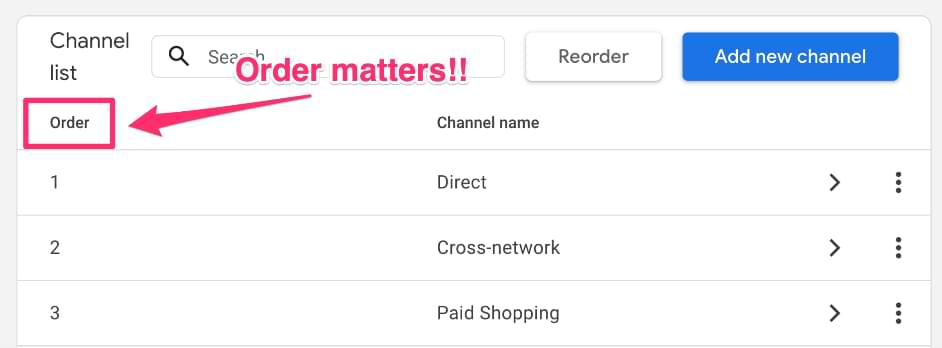
When you save a new channel, it will go to the bottom of the list within the channel group. It is important to note that the order of the channel groups matters!
When Google Analytics 4 is determining which channel the traffic source should be grouped into, the evaluation will begin at the top of the list and go down. So, if the traffic source does not match the rules for the Direct channel, but does match the rules for Cross-network, it will not be further evaluated for Paid Shopping or any remaining channels below.
Therefore, you want to ensure that the order of your channels is consistent with how you want the traffic source ordered. A useful tip would be to put the most specific channels first and those with broader scopes further down the list.
Step 4: Check the reports in GA4
Since custom channel groups can be applied to your data retroactively, you will be able to view your new dimension in reports immediately!
A reminder that creating a new custom channel group will not change the default channel group, nor will it change any of the underlying data. If you make a mistake in your rules or just decide to change them, there is no effect on the underlying data.
In either the User Acquisition report or the Traffic Acquisition report, you will be able to find your new custom channel group available as a dimension.
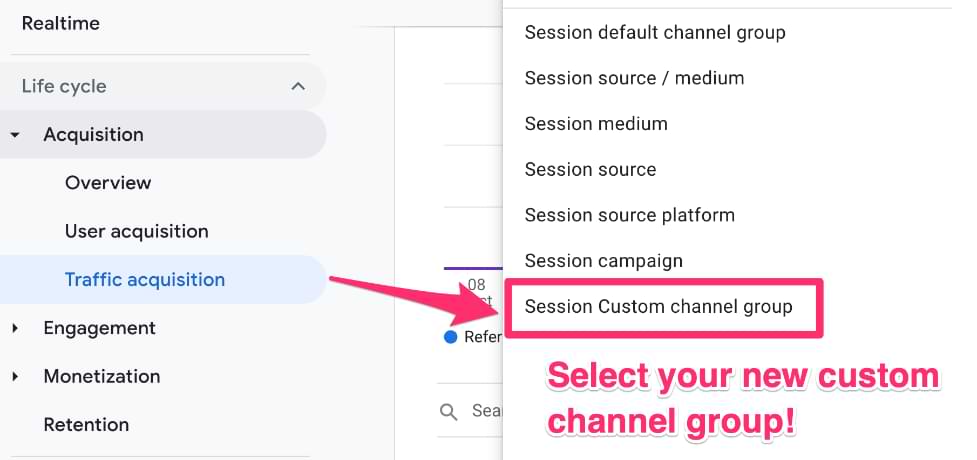
One thing to note is that is it currently not possible to use the custom channel groups in the Key event paths report.
In the report, the new E-books channel is available, along with any default channels that were left in the custom channel group.
This is now easier to read and understand than the Unassigned value!

Example #2: Social Media channels
The great thing about custom channel groups is that, as the name suggests, they are custom! This means you can make the channels within the custom channel group fit whatever needs make sense for your site.
Let’s say that you are mostly interested in the traffic sources that come from social media. Therefore, you want to create channels for each of the primary social media sites, having one Paid and one Organic for each, and all non-social media traffic sources grouped into a channel.
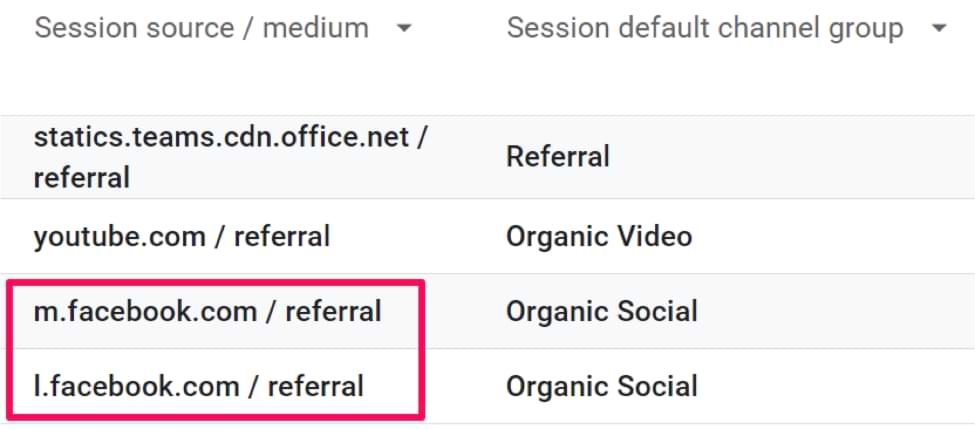
For example, when a user comes from Facebook, multiple sources could appear in the data, so you want to group all of these into one single channel.
|
Channel Name |
Rule Logic | Condition 1 (Source) |
Condition 2 (Medium) |
|
Paid Facebook |
AND | contains facebook | matches exactly cpc |
|
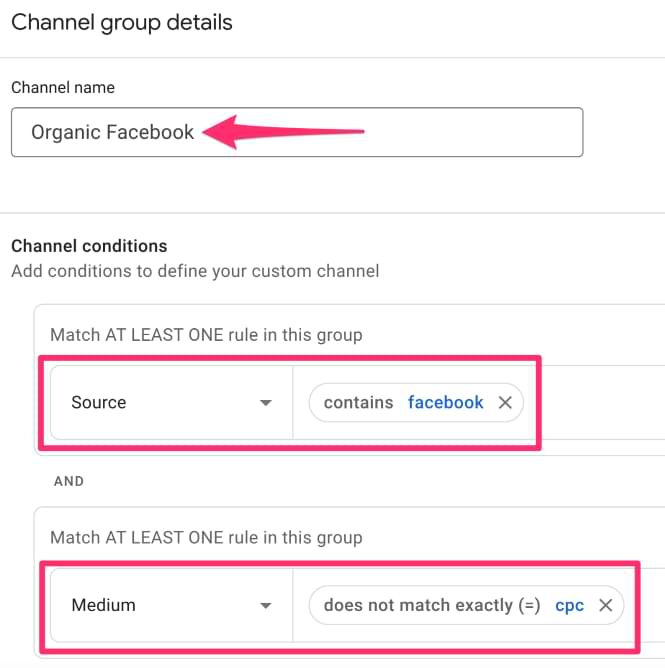
Organic Facebook |
AND |
contains facebook |
does not match exactly cpc |
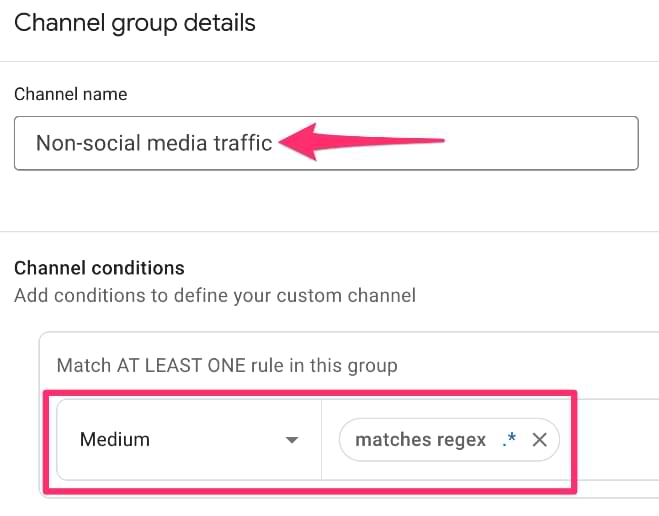
| Non-social media | AND | (N/A) |
matches regex .* |
Following the same steps as above, either add to an existing custom channel group by just clicking on it or create a new custom channel group.
For Paid Facebook, we set the source to contain facebook and the medium to exactly match cpc.

For Organic Facebook, we set the source to also contain facebook, but we want to capture all traffic sources that are not paid, so we set the medium not to match exactly cpc.
Continue this with any other social media sites, such as Instagram, LinkedIn, or Twitter, depending on what is most helpful for you to see in your report. For any non-social media traffic source, you can group these all into one channel group.
It is important to remember that order has an impact on how traffic sources are grouped!
In the channel group, you want to ensure that the Paid channel for each site goes before the Organic channel and that the Non-social media channel goes last since it will collect all the traffic sources that didn’t fit into one of the previous channels.

Using the new custom channel group, you can view your data in either the User Acquisition report or the Traffic Acquisition report.
Custom channel groups in Google Analytics 4: Final words
Custom channel groups fill a gap when traffic sources to your site don’t fit into the default channel group rules or if you just want more flexibility with how your data is grouped.
You can create two custom channel groups with the free version of Google Analytics 4, each containing 25 channels. The traffic source will be evaluated in order of the channels within the group, so it’s essential to keep that in mind, and organize your groups accordingly!
One of the many great things about custom channel groups is that the groups are assigned retroactively to the data. This means there is no waiting and there is no effect on the underlying data if you decide to remove or change any channels with the custom channel group.
If you need a quick recap, here are the key takeaways:
- Fixes data gaps: Use custom channel groups to recategorize traffic that appears as “Unassigned” in default reports.
- Retroactive: Changes apply to past data immediately, allowing for risk-free testing.
- Order matters: Arrange your channels from most specific to least specific to make sure accurate categorization.
- Usability: You can use these custom groups as a primary dimension in standard reports (Acquisition) or within Explorations.
Custom channel groups are another great feature of Google Analytics 4 that allows users to view and organize data in a more customized way!
3 COMMENTS
This is exactly what I am working on. Has Google announced when this will be available in Looker or how are users currently accessing them in Looker?
Thanks Julius! Has anyone else noticed recently that edits/ updates made to custom channel groupings aren't taking effect? Is there a time delay before the data reorganises itself?
I am currently having this issue too.