

July 10, 2026
How to create and manage workspaces in Google Tag Manager?
If you are trying to organize workspaces in Google Tag Manager and recently (in 2026) logged into your account to spin up a new project, you might have noticed something strange. The workspace picker on the left sidebar is completely missing.
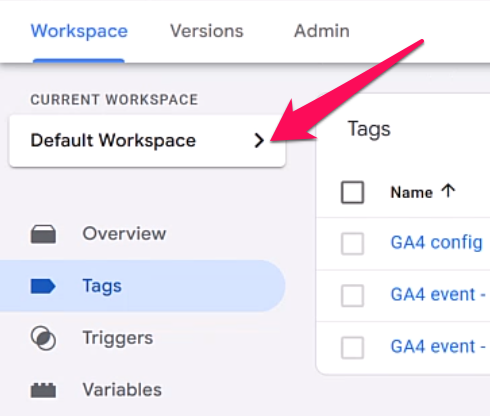
Don’t panic, your container isn’t broken, and your workspaces haven’t vanished into thin air. Google recently rolled out an interface update to GTM. While the new layout looks cleaner, it also means certain workspace management tools are hidden behind a few extra clicks.
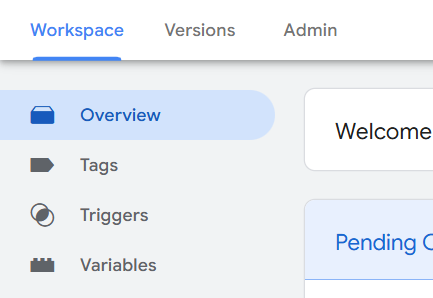
In this quick guide, you will learn how to change your settings to bring back the classic workspace menu and how to create workspaces in Google Tag Manager.
Table of Contents
Here’s what you will learn in this article
- What is a GTM workspace and why use it?
- The new way to manage workspaces in GTM
- How to create a new workspace?
- Final Words

What is a GTM workspace and why use it?
Before jumping into the navigation fixes, let’s take a brief step back. Technically speaking, a workspace is an independent, virtual draft environment inside a single Google Tag Manager container. Think of it as a temporary sandbox or a development branch.
Workspaces are useful for a few practical reasons:
- Isolating your changes: Keeping distinct tracking updates in their own separate workspaces keeps your container clean and organized.
- Parallel tracking workflows: You can build and test a GA4 e-commerce tracking setup in one workspace while a coworker simultaneously fixes a broken Meta Pixel trigger in another. Your changes will not conflict or overwrite each other (until you decide to merge changes of both workspaces).
- Safer publishing: Working in separate workspaces ensures that half-configured or broken tags don’t accidentally get deployed to production when someone else hits the “Publish” button. Especially when your team members work on the same container.
The new way to manage workspaces in GTM
In the updated Google Tag Manager interface, if a GTM container has only one workspace active, the workspace picker dropdown on the left sidebar is automatically hidden.
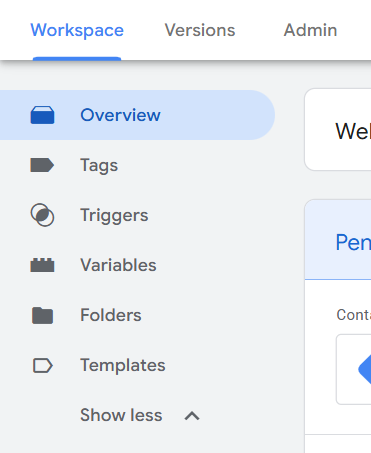
While this de-clutters the dashboard for total beginners who only ever use the default workspace, it adds extra friction for intermediate and advanced users who need to manage multiple workspaces.
Luckily, you have two options to work with and control your workspaces in the new layout.
Option 1: Access workspaces via the overview screen
If you just need to occasionally jump into your workspace management screen without changing your global display preferences, you can find the hidden tools directly on your main dashboard.
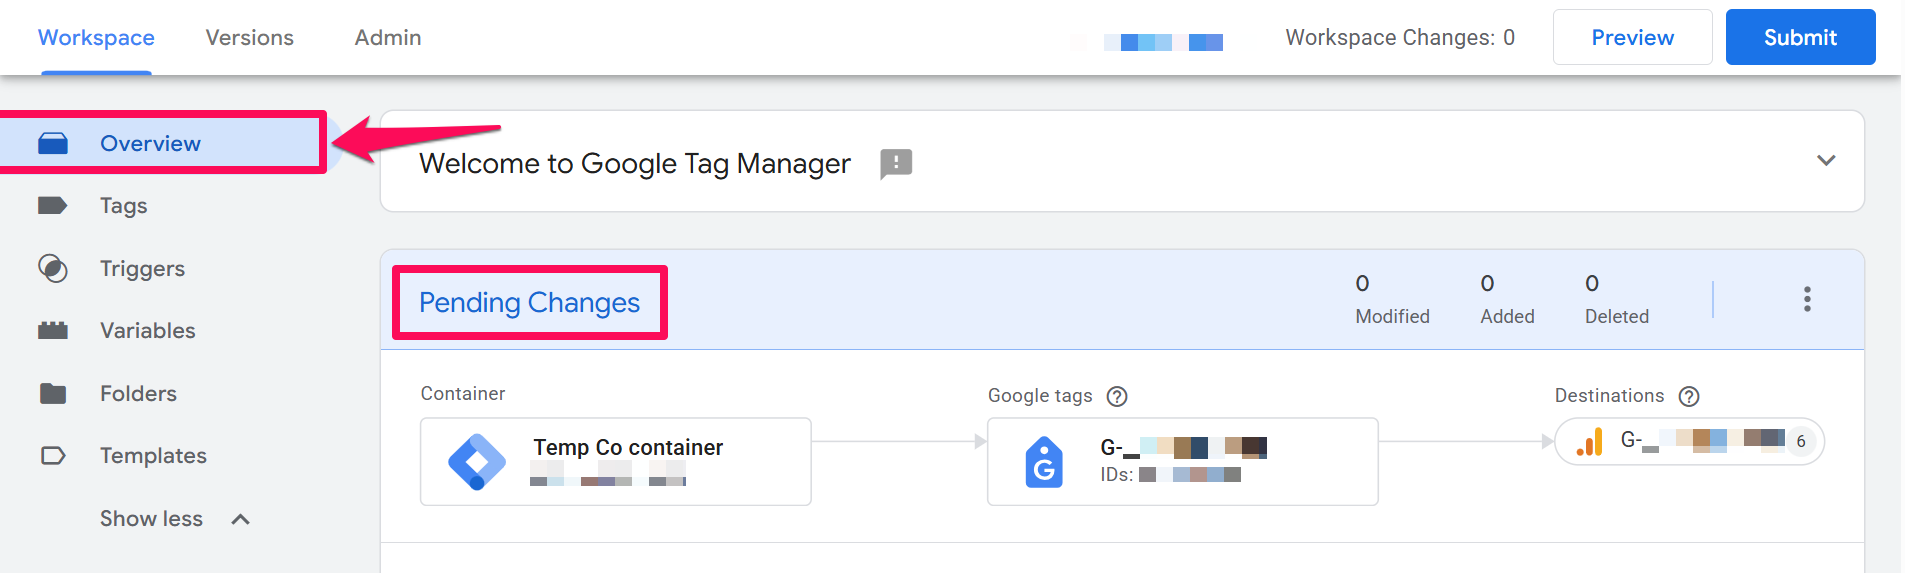
When you log in to your GTM account, Go to Overview in the left navigation panel. And in the center dashboard area, look for the card that displays your Pending Changes.
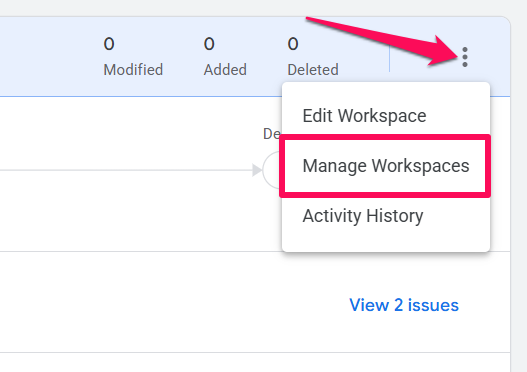
Click on the three vertical dots (overflow menu icon) in the top-right corner of that card. Then click Manage Workspaces.
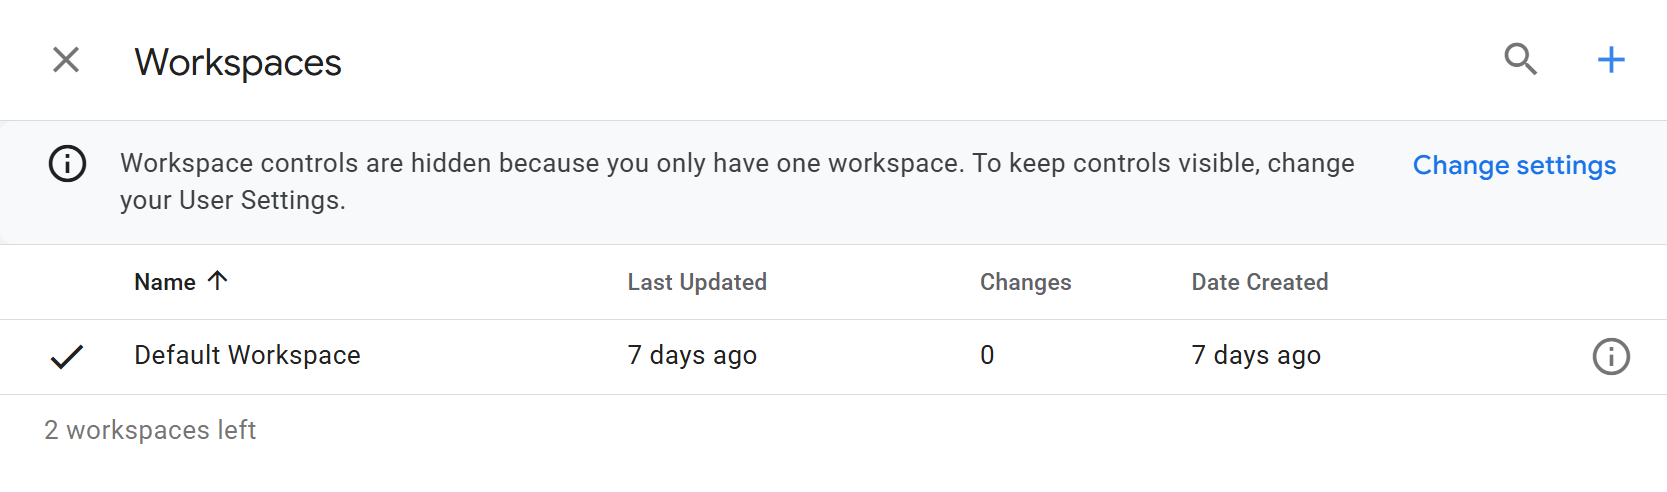
A slider panel will slide open from the right side of your screen, allowing you to add, delete, or switch between your active workspaces.
Option 2: Enable the picker in User Settings
If you are like me and find yourself constantly switching between workspaces, clicking through the Overview menu every single time quickly becomes tedious.
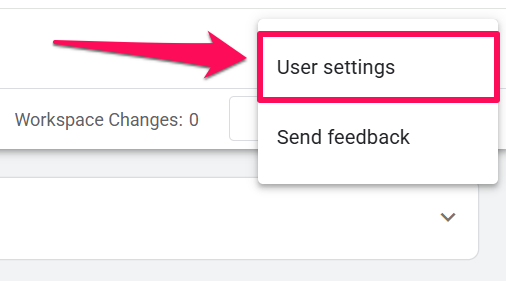
Here is how to bring the workspace picker back permanently. Look at the top-right header section of your GTM interface and click on the three vertical dots (overflow menu icon) beside your profile avatar.
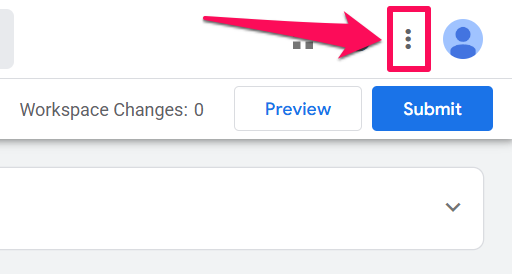
And click on your User Settings.
Find the setting to Always show Current Workspace on the left sidebar. And enable this setting.
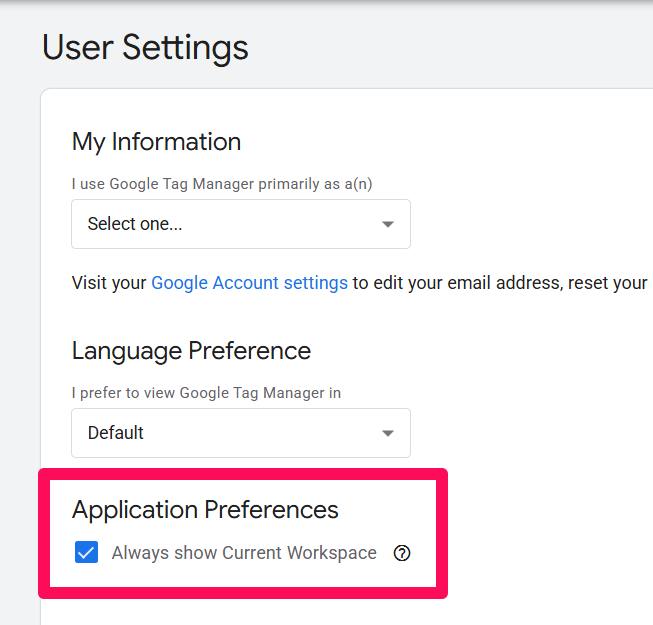
Keep in mind that by default, the setting is disabled. Once you toggle it on and save your preferences, the classic sidebar dropdown menu will instantly reappear on your left sidebar, regardless of the number of workspaces you have.

How to create a new workspace?
Now that you know how to open the workspace manager using either of the two options above, creating a new one is incredibly simple:
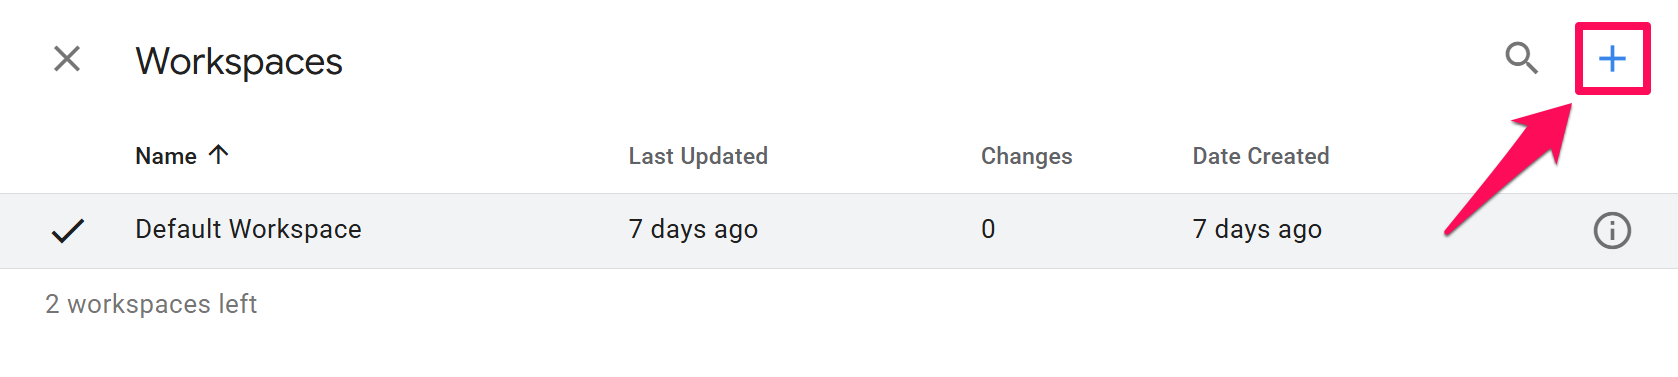
Click the blue plus (+) icon in the top-right corner of the workspace management panel.
Now, you need to give your new workspace a name. It is a good practice to avoid generic labels like Workspace 2 or Draft because they quickly make your container confusing to navigate, especially if you work with a team. If you aren’t sure how to structure your workspace names, take a look at my detailed guide on Google Analytics and Google Tag Manager naming conventions.
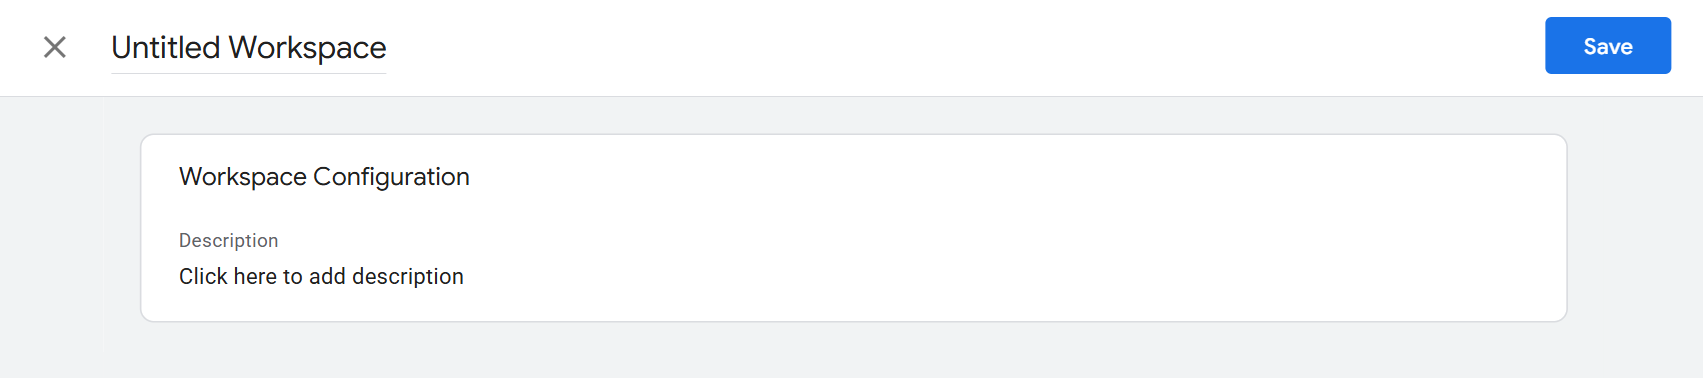
You can also write a description, but this is optional. It can be a brief description or a detailed summary of the project. For example, you can include the person using the workspace and the deadline of the project, or what tags, triggers, or variables you plan to create. Once you’ve filled these out, click Save.
GTM will automatically switch you into your newly created workspace, and you are ready to begin configuring your tags safely.
Create and manage workspaces in Google Tag Manager: Final Words
Interface overhauls can be frustrating when they disrupt your muscle memory, but Google’s primary goal here was to simplify the standard view for analytics beginners.
I think it’s the exact same reason why Google also introduced the ability to expand and collapse the left sidebar completely. This gives users a minimal view that only shows Overview and Tags when they want to clear out visual noise.
Although I have to admit I would prefer to keep the workspace picker in its old place without all these additional steps.

0 COMMENTS